API Explorer
What is the API Explorer?
The API Explorer is a tool that allows you to create and validate API requests for the payment product and scenario you want to integrate. When you select an API endpoint, the API Explorer displays options based on your configuration on our platform. You can select features, create requests for new payment products, or add properties based on the functionality you need. Once you select your desired features, the API Explorer automatically generates the API request with all required parameters formatted correctly. You can then validate your request before adding it to your application.
This tool is particularly valuable for:
- Testing new payment features before implementation
- Troubleshooting integration issues
- Understanding the required request structure for different payment scenarios
- Validating complex payment flows with multiple features
- Learning about available API capabilities for your merchant account
- Reducing testing time by organizing and reusing your API requests across projects
Access the API Explorer
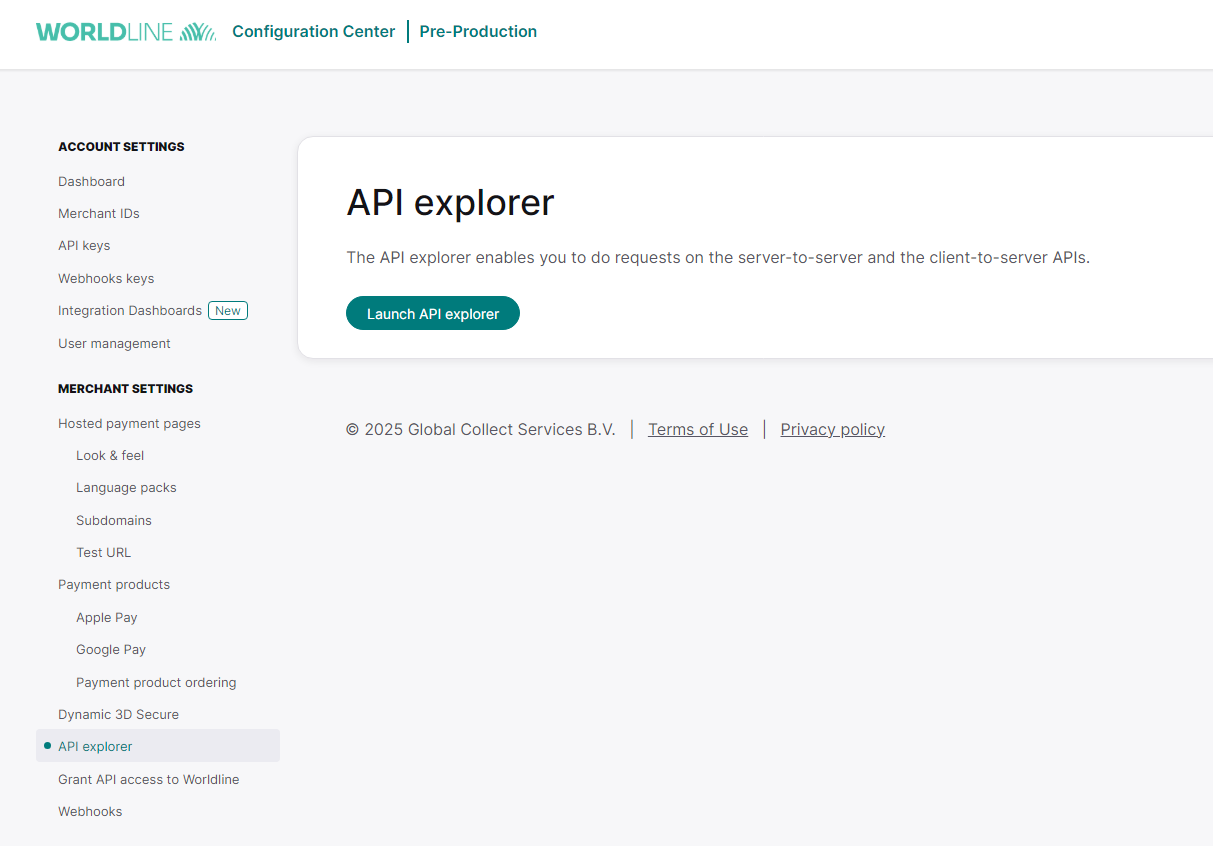
- Log in to the Configuration Center.
- Navigate to the API Explorer in the left-side menu.
- Click "Launch API Explorer" to open it in a separate tab.
The Configuration Center is available in our pre-production and production environment and publicly to anyone after signing-up for a sandbox account. Inside the Configuration Center, you can already select the merchant ID for which you want to use the API Explorer. Please note that each merchant ID has it's own configuration in terms of products and services.
How to use the API Explorer
In the API Explorer, you can submit requests for the merchant IDs linked to your account in the Configuration Center. Follow the steps below to test your requests:
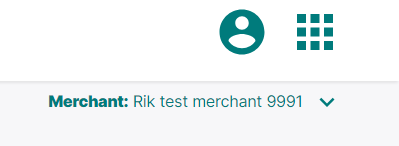
Select your Merchant ID
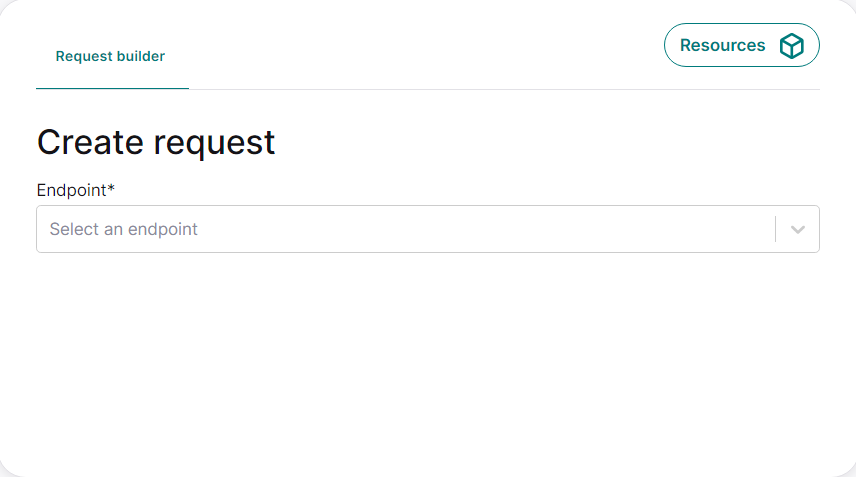
Build your request
The Request Builder is a powerful feature that automatically generates API requests based on your selected features, configuration, and selected endpoint. It adapts the available options based on your merchant configuration and the chosen endpoint, ensuring you only see relevant features that are enabled for your account. The builder validates your selections in real-time, and automatically formats the JSON request with all required fields, optional parameters, and proper syntax. This eliminates common integration errors and reduces development time by removing the need to manually construct complex API requests.
To start your request, select an endpoint from the dropdown menu.
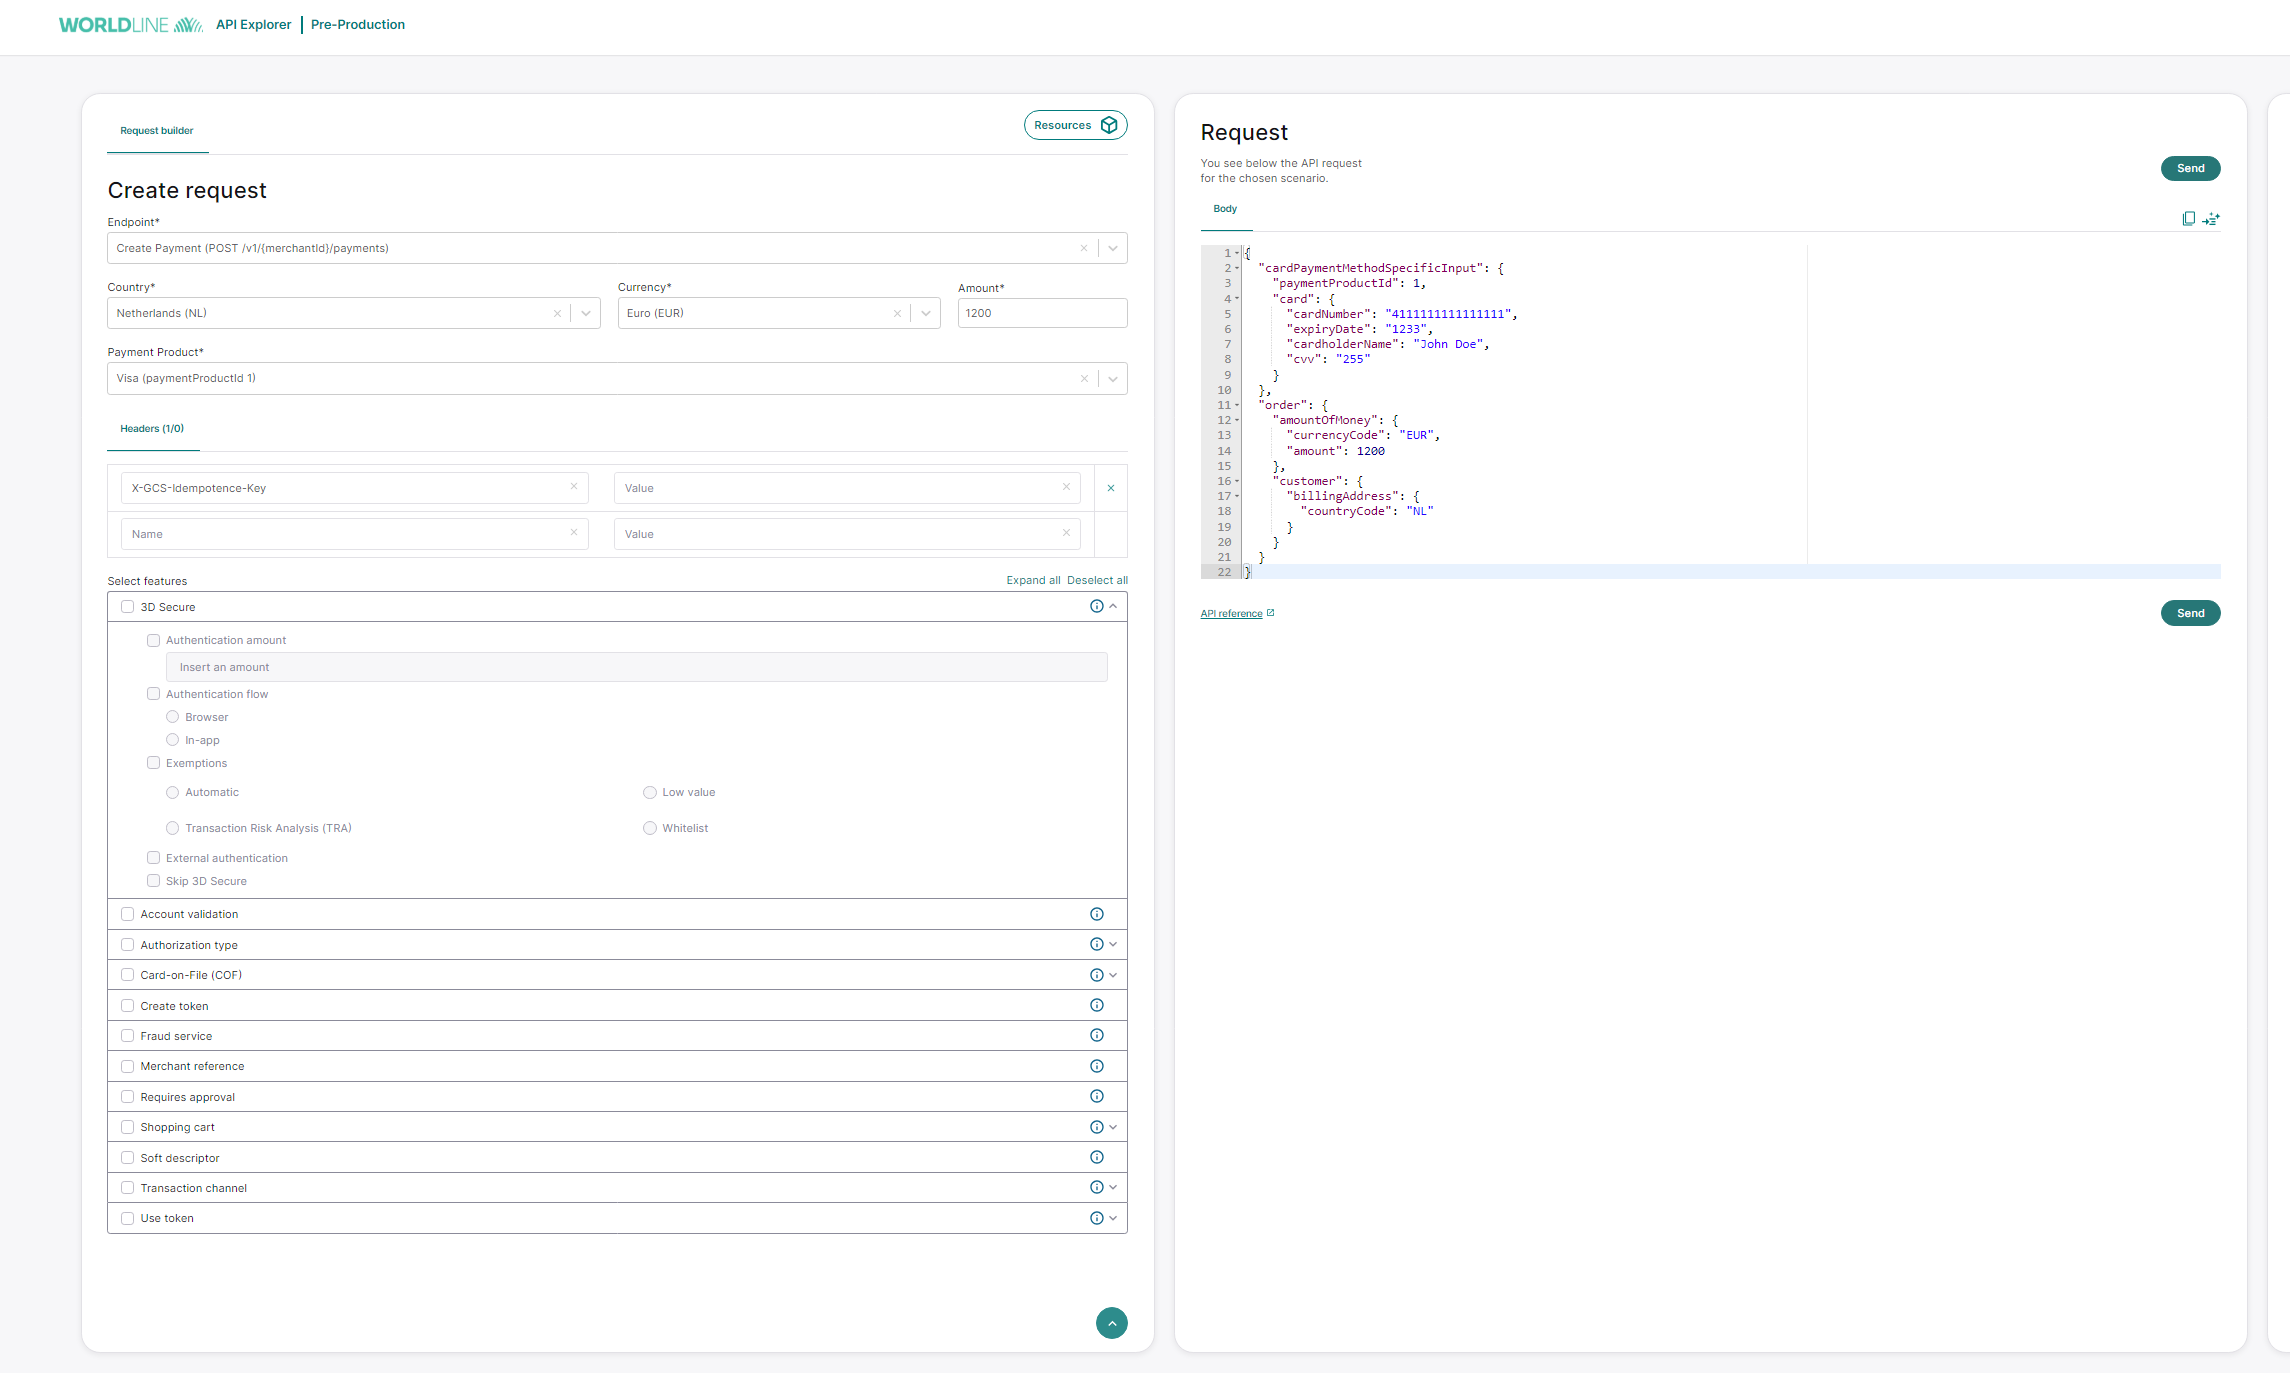
After you select an endpoint, the Request Builder updates the feature selection panel to show only compatible options. For example, selecting the Create Hosted Checkout endpoint displays relevant features such as 3D Secure, Card-on-File, and tokenization options. The builder also enforces feature dependencies—if you select recurring payments, it automatically includes required recurring-specific fields in the request.
The generated request is validated with API specifications to ensure proper formatting of amounts, dates, and references, as well as inclusion of mandatory fields based on your selected payment method and features. You can customize any parameter in the request body before submission.
Alternatively, you can skip the feature selection and manually type your own API request in the body section, to validate if it works as desired.
The available features are:
- 3D Secure - a protocol that adds an additional verification step to card transactions. You can configure the following options:
- Options:
- Authentication amount: Specify the amount to be authenticated
- Authentication flow: Currently limited to Browser option
- Exemptions: Choose between Automatic, Low value, Transaction Risk Analysis (TRA), or Whitelist
- Skip 3D Secure: Option to bypass 3D Secure authentication
- Options:
- Account validation ensures a bank account is active and can handle transactions, verifying details like account number, status, and ownership to prevent errors and fraud.
- Authorization type determines the timing before the capture happens.
- Final authorization: Payment must be captured within 7 days,
- Pre-authorization: Allows 30-day window for capture,
- Sale: Immediate authorization and capture.
- Card-on-File (COF) stores your consumer's credit/debit card details for quick future transactions without re-entering details.
- Options:
- Recurring payments
- Unscheduled Card-on-File
- Options:
- Device fingerprint captures unique device characteristics to validate transaction legitimacy.
- Fraud service detects fraudulent activity and prevents unauthorized transactions.
- Industry-specific options such as Airline data, Lodging data, Level2/Level 3 data are available.
- Installments allows splitting the total payment amount into smaller periodic payments over a defined timeframe.
- Shopping cart contains transaction details including items, quantity, price, taxes, discounts, and user preferences.
- Token - a unique identifier that represents sensitive data, such as a credit card number, without exposing the original payment details.
- Transaction channel defines how a transaction occurs: online payments, in-store purchases, mobile app transactions, or telephone payments.
- Encrypted customer input protects sensitive data by transforming it into a secure format during transmission and storage.
- Idempotency ensures that submitting the same request multiple times produces the same result as submitting it once. This prevents duplicate charges or unintended side effects if a request is resubmitted.
Validate your request
Before submitting your request, you can validate it to ensure all required details are present. This is especially useful if you manually entered the API request body. If you made changes and want to reset the request, click any feature in the feature selection panel on the left. The API request will be regenerated based on your selected features. If you pasted a JSON body in the Request panel and the formatting is incorrect, click the "Beautify" button to automatically format it.

Check the response
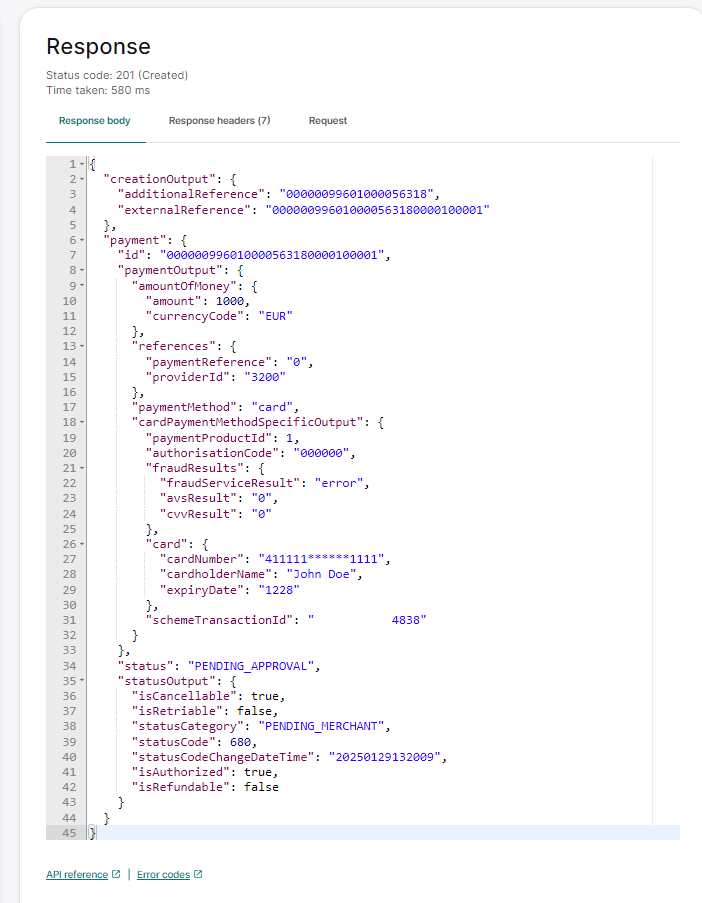
Once the request has been sent, you can see the response on the right hand side in the "Response body".
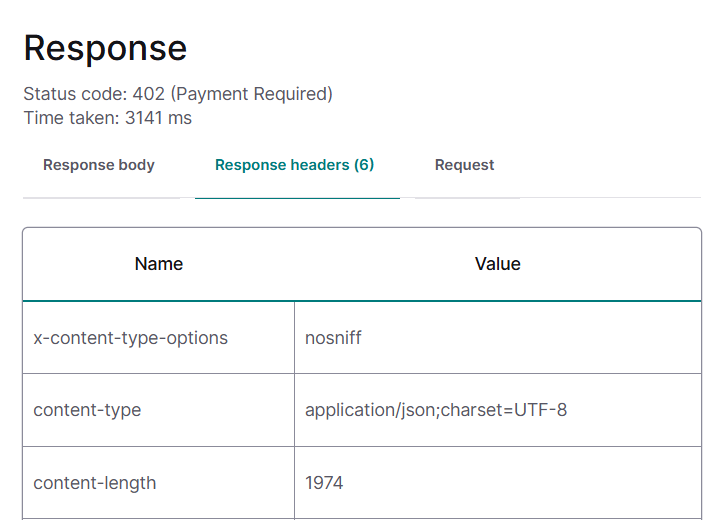
The "Response headers" tab shows you the headers that were included in the response.
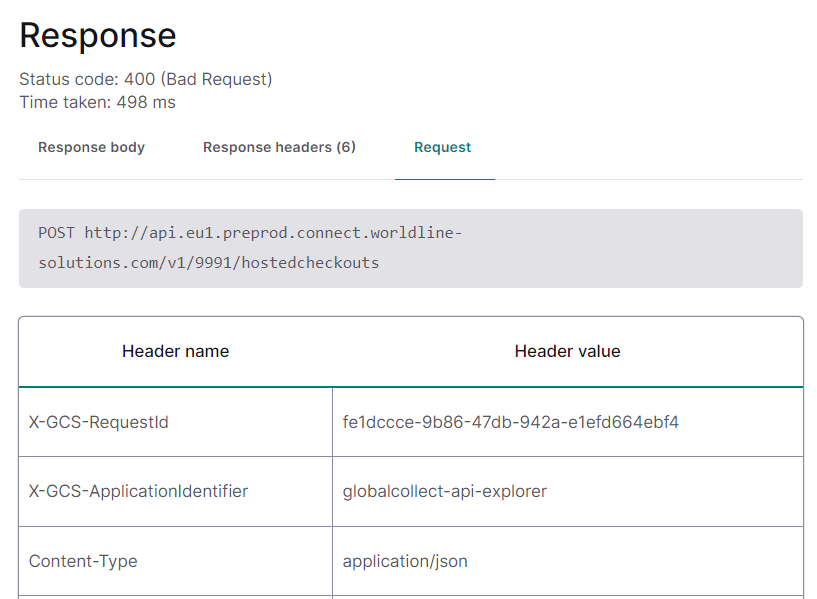
The "Request" tab on the Response panel shows you the full request, including the body and the headers.
The Integration dashboards display all API requests and responses from your integration. Use this information to monitor your integration progress, troubleshoot issues, and optimize performance. The dashboards are available in pre-production and production environments. If you receive an error, visit the dedicated error page for details on the error code and resolution steps. For performance metrics and payment analytics, visit Insights.
Manage your requests: history & collection
The API Explorer provides two tabs to organize and manage your API requests.
History
The History tab displays all API requests you have made in the API Explorer.
- View the date, time, endpoint, and request body for each request
- Reference previous requests without recreating them
Collection
The Collection tab allows you to save API requests for future use, whether they have been executed or not.
- Save any request with a custom name
- Execute saved requests with a single click
- Rename or delete saved requests as needed
- Access your saved requests across all your testing sessions
Data privacy & security: In line with PCI requirements, any sensitive data in your API requests will be automatically masked when stored in History and Collection. All records are automatically deleted after two years.
Additional Features
Grant API Access
In the Configuration Center, select "Grant API access to Worldline" below the API Explorer menu item. This option allows Worldline to access your account and test API requests on your behalf.
Use this feature when you need support validating your integration. Worldline can troubleshoot issues and test requests using your account and merchant ID. You can grant access for 2 to 48 hours. After this period expires, access is automatically revoked.
To grant access:
- Select your timeframe (2-48 hours)
- Confirm with your password
- Notify your Worldline contact that you have granted access